Planning electrical house wiring isn’t just about running a bunch of wires through walls. It’s about ensuring your home is safe, functional, and future-proofed for all your electrical needs. Whether you’re building a new home or upgrading your current system, having a solid plan in place can save you time, money, and potential headaches down the road.
In this guide, we’ll break down everything you need to know about planning electrical house wiring—from essential components to must-have tools.
Why Proper Electrical Wiring Planning is Crucial
Think of your home’s electrical wiring as its nervous system. If it’s not planned correctly, you might run into constant issues—overloaded circuits, tripping breakers, or even potential fire hazards. Proper planning ensures that every outlet, switch, and fixture is positioned perfectly to meet your daily needs without compromising safety.
Key Considerations When Planning Electrical Wiring
Before diving into the nitty-gritty, let’s go over some crucial factors to keep in mind when planning your home’s electrical wiring.
1. Create a Detailed Electrical Layout
Start by mapping out your entire home. Think about where you’ll need power the most—living rooms, kitchens, bedrooms, and outdoor spaces. Consider the placement of appliances, lighting fixtures, and smart home devices. Having a well-thought-out plan on paper helps avoid costly changes later.
2. Understand Electrical Load Requirements
Different areas of your home have different power requirements. Your kitchen, for example, needs a dedicated circuit for heavy appliances like refrigerators and microwaves. Bedrooms and living rooms, on the other hand, require standard outlets and lighting circuits. Proper load planning ensures you don’t overload your circuits.
3. Safety First: Grounding Equipment
Proper grounding is non-negotiable when it comes to electrical wiring. Ground rods, grounding clamps, ball studs, and ferrules are essential components that help divert excess electricity safely into the ground. These elements prevent electrical shocks and protect your appliances from power surges.
- Ground Rod: This is a crucial component that connects your electrical system to the earth, ensuring any stray electrical currents are safely dissipated.
- Grounding Clamps: These secure the ground wire to the ground rod or other conductive materials, ensuring a stable connection.
- Ball Studs & Ferrules: These small but mighty components help create secure electrical connections and improve the durability of your wiring system.
4. Choose the Right Wiring Materials
Not all wires are created equal. Depending on the load requirements and location, you’ll need different types of wiring, such as:
- Copper wiring: Highly conductive and corrosion-resistant, making it the go-to choice for residential wiring.
- Aluminum wiring: A cost-effective alternative but requires larger wire sizes to handle the same current as copper.
- PVC conduits: Great for protecting your wires from environmental damage and keeping your wiring organized.
5. Proper Tool Selection
No job is successful without the right tools. Equip yourself with a tool bucket or a tool bag loaded with essentials such as wire strippers, voltage testers, and cable cutters. Having your tools organized and easily accessible can make a world of difference in efficiency.
Essential Steps for Wiring Your House
Now that you’ve got a solid plan in place, let’s talk about the step-by-step process of wiring your home.
Step 1: Install the Electrical Panel
The heart of your electrical system is the panel. It’s where all your power comes in and gets distributed to various circuits. Ensure your panel has enough capacity for current and future power needs.
Step 2: Run Wiring Through Walls
Once your layout is finalized, it’s time to start pulling wires through walls, ceilings, and floors. Use PVC conduits for added protection, and always leave extra slack at junction boxes to accommodate any future changes.
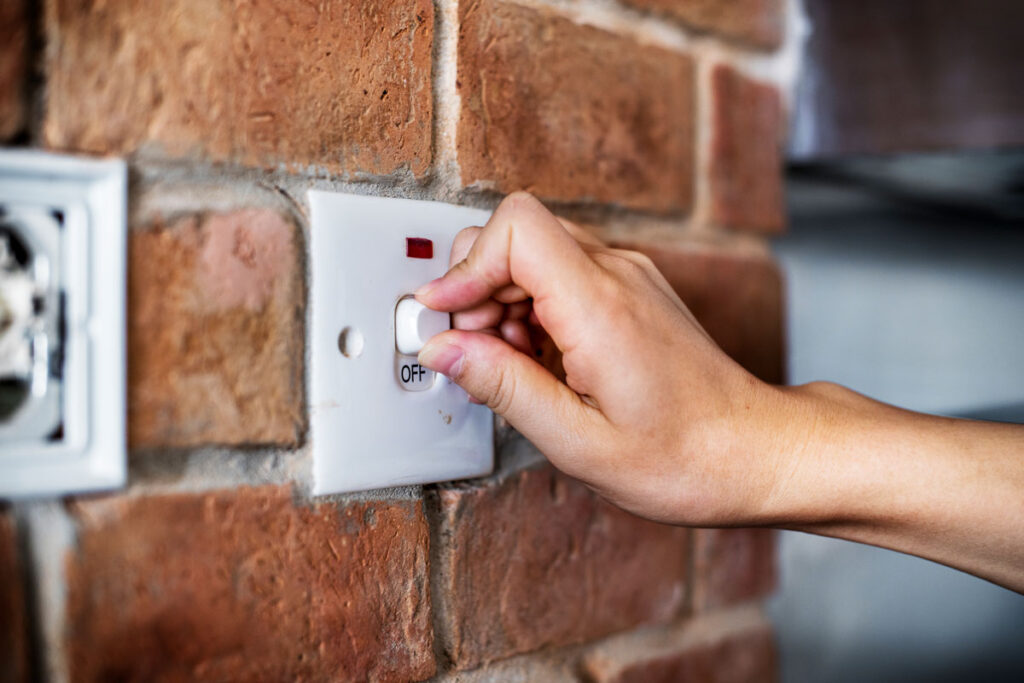
Step 3: Install Outlets and Switches
Position outlets and switches at convenient heights and locations based on your daily routines. Think about where you’ll place furniture and appliances to avoid awkward placements.
Step 4: Connect Grounding Equipment
Remember those ground rods, grounding clamps, ball studs, and ferrules we mentioned earlier? Now’s the time to put them to use. Secure all grounding connections properly to prevent electrical hazards.
Step 5: Test Everything Thoroughly
Once everything is connected, it’s crucial to test your system before closing up walls. Use voltage testers to check for proper current flow and grounding to ensure everything is in working order.
Common Electrical Wiring Mistakes to Avoid
Even with a solid plan, mistakes can happen. Here are some common pitfalls to watch out for:
- Overloading circuits: Too many appliances on a single circuit can cause frequent trips.
- Ignoring grounding: Skipping grounding can lead to dangerous shocks and equipment damage.
- Poor wire sizing: Using wires that are too small for the load can result in overheating.
- Messy wiring: Not keeping wires organized can make future troubleshooting a nightmare.
Conclusion
Planning your electrical house wiring might seem like a daunting task, but with careful planning and the right tools, it becomes much more manageable. By considering factors like electrical load, proper grounding, and tool selection, you can ensure your home is both safe and efficient. So, gear up with your bucket tool bag, stay organized, and power your home with confidence!
Frequently Asked Questions (FAQs)
1. How many outlets should I install in each room?
It’s generally recommended to install at least one outlet every 6 to 12 feet along walls, with extra outlets in high-usage areas like kitchens and home offices.
2. What type of grounding system is best for a residential home?
A ground rod system is the most commonly used grounding method for homes, as it effectively dissipates electrical surges into the ground.
3. Should I use a bucket tool bag or a tool bucket for electrical work?
A bucket tool bag offers better organization and portability, whereas a tool bucket is ideal for carrying larger tools and materials. Choose based on your work style and needs.
4. How do I determine the right wire size for my home?
Wire size depends on the load capacity required for each circuit. For general outlets, 12-gauge wire is standard, while larger appliances may require 10-gauge or even 8-gauge wiring.
5. Can I wire my home myself, or should I hire a professional?
While DIY wiring is possible for minor projects, it’s always recommended to consult a licensed electrician for major installations to ensure compliance with safety codes.
By following these guidelines and staying prepared, you’ll have a well-wired home that’s safe, efficient, and ready to meet your electrical demands for years to come!